
Faucet Hole Spacing
Be sure to turn off the water to the RV and relieve the pressure (if any) in the hot water tank. Then turn on the hot and cold handles of the faucet you want to replace. Clean out the stuff underneath the sink. Get a flashlight and look up underneath the sink and see how the water lines are hooked to the current faucet. You may have to get yourself up under the sink bottom to see what is going on. But you should see something like the photo below.

Faucet Water Connection Under The Sink
Sometimes a red plastic pipe is used for hot water and a blue or white plastic pipe is used for cold.
The fittings should only be hand tight. If they are on the faucet stem harder than hand tight use a Channel Lock Pliers
 |
| Channel Lock Pliers |
and carefully loosen the fittings. Now you should see two black or blue flat plastic nuts with wings sticking out. See photo above for the flat nuts above the white water line. Use you channel lock pliers to loosen and then remove these nuts. What you have left should look like below.
 |
| Bottom of faucet shafts without water lines or black plastic wing nuts |
Now you can pull the faucet out from the top. Clean off the area where the old faucet was and get ready to install the new one.
For the kitchen faucet you can use. (Low Cost Kitchen Faucet )
 |
| Low Cost Kitchen Faucet |
You can also use a kitchen faucet with an integrated sprayer. (Kitchen Built-in Sprayer Faucet)
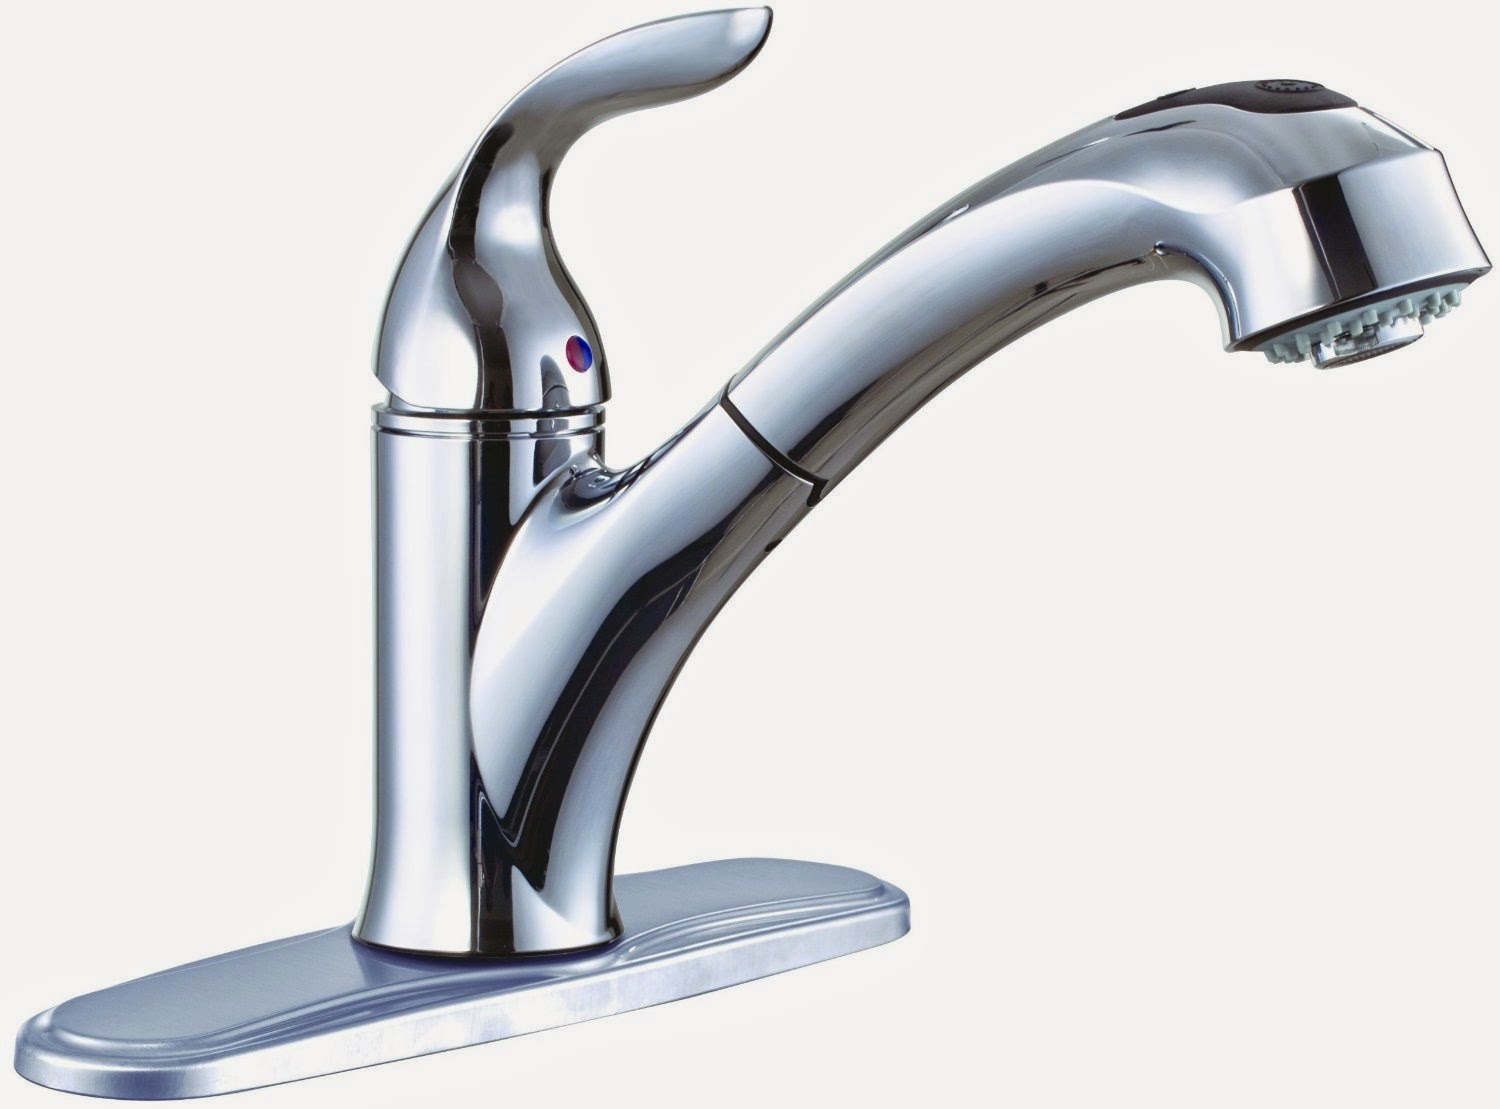 |
| Kitchen Built-in Sprayer Faucet |
You should double check the water feed line spacing before you make your purchase.
Here is a chance to put the faucet of your choice in the color and style you want into your kitchen.
So how do you put everything back together? Clean the area that the old faucet sat on with your favorite cleaner. You want to make sure there is nothing on the top of the sink where the new faucet will be going.
Put the new faucet together according to the manufacturer's instructions. Then apply some Kitchen and Bathroom Caulk
 |
| Kitchen and Bathroom Caulk |
around the bottom of the faucet (unless the faucet manufacturer says not to.)

and put the water stems into the holes in the top of the sink.
|
| Bottom of faucet shafts without water lines or black plastic wing nuts |
Put the black flat nuts back on and tighten them down tight. You can use your pliers to tighten the black nuts down to be sure they are tight. Then put the water lines back on.
|
| Faucet Water Connection Under The Sink |
Caution If the faucet stems are metal you may need to use plumbers tape.
 |
| Plumbers Tape |
Just wrapped the tape around the metal stem before you screw the plastic water line back on. If the faucet stem is plastic you should not need the plumbers tape. Make sure the new faucet is turned off and then turn on your RV water CHECK FOR LEAKS and enjoy your new faucet.
For the bathroom sink you can just follow the above instructions for that sink as well. The bathroom sink is where you can get fancy and make something that is really yours.
 |
| Bathroom Faucet |
 |
| Brass Bathroom Faucet |
Until next time.